
Create a Facebook business Page
 David TouzetUpdated on 24 September 20265 min read
This Page is used by your Community Manager Agent, your Web Marketing and Leads Agent and your Paid Search Agent. Without it, nothing can be published in your company's name. Creating it is free and takes 15 minutes. Your personal profile stays private, it only acts as your key to the door.
- Step 1 · Log in to your personal Facebook account
- Step 2 · Open the Page creation form
- Step 3 · Fill in the name, the category and the description
- Step 4 · Add your visuals and your action button
- Step 5 · Complete your details and your Facebook address
- Step 6 · Connect your Page to Instagram and to advertising
- Step 7 · Facebook shortcuts and forgotten settings
Log in to your personal Facebook account
Go to facebook.com and log in with your personal account. Facebook requires one behind every business Page.
If you don't have one, create it with your real name and your real date of birth. That is what lets you get back in if you lose your password.
Phone or computer. The steps are the same, a computer is more comfortable for text and images.
Open the Page creation form
Open facebook.com/pages/create and you land straight on the form.
On a computer, through the menus. The square of 9 small dots at the top right, then Pages, then Create Page. Another route, your photo, See all profiles, Create professional Page.
On a phone, in the Facebook app. The menu, the 3 lines at the bottom or the top depending on your device, then Pages, then the create button.
Applies to everything that follows. Meta renames its screens several times a year. If a label differs, trust the meaning of the action, the settings search bar finds the feature.
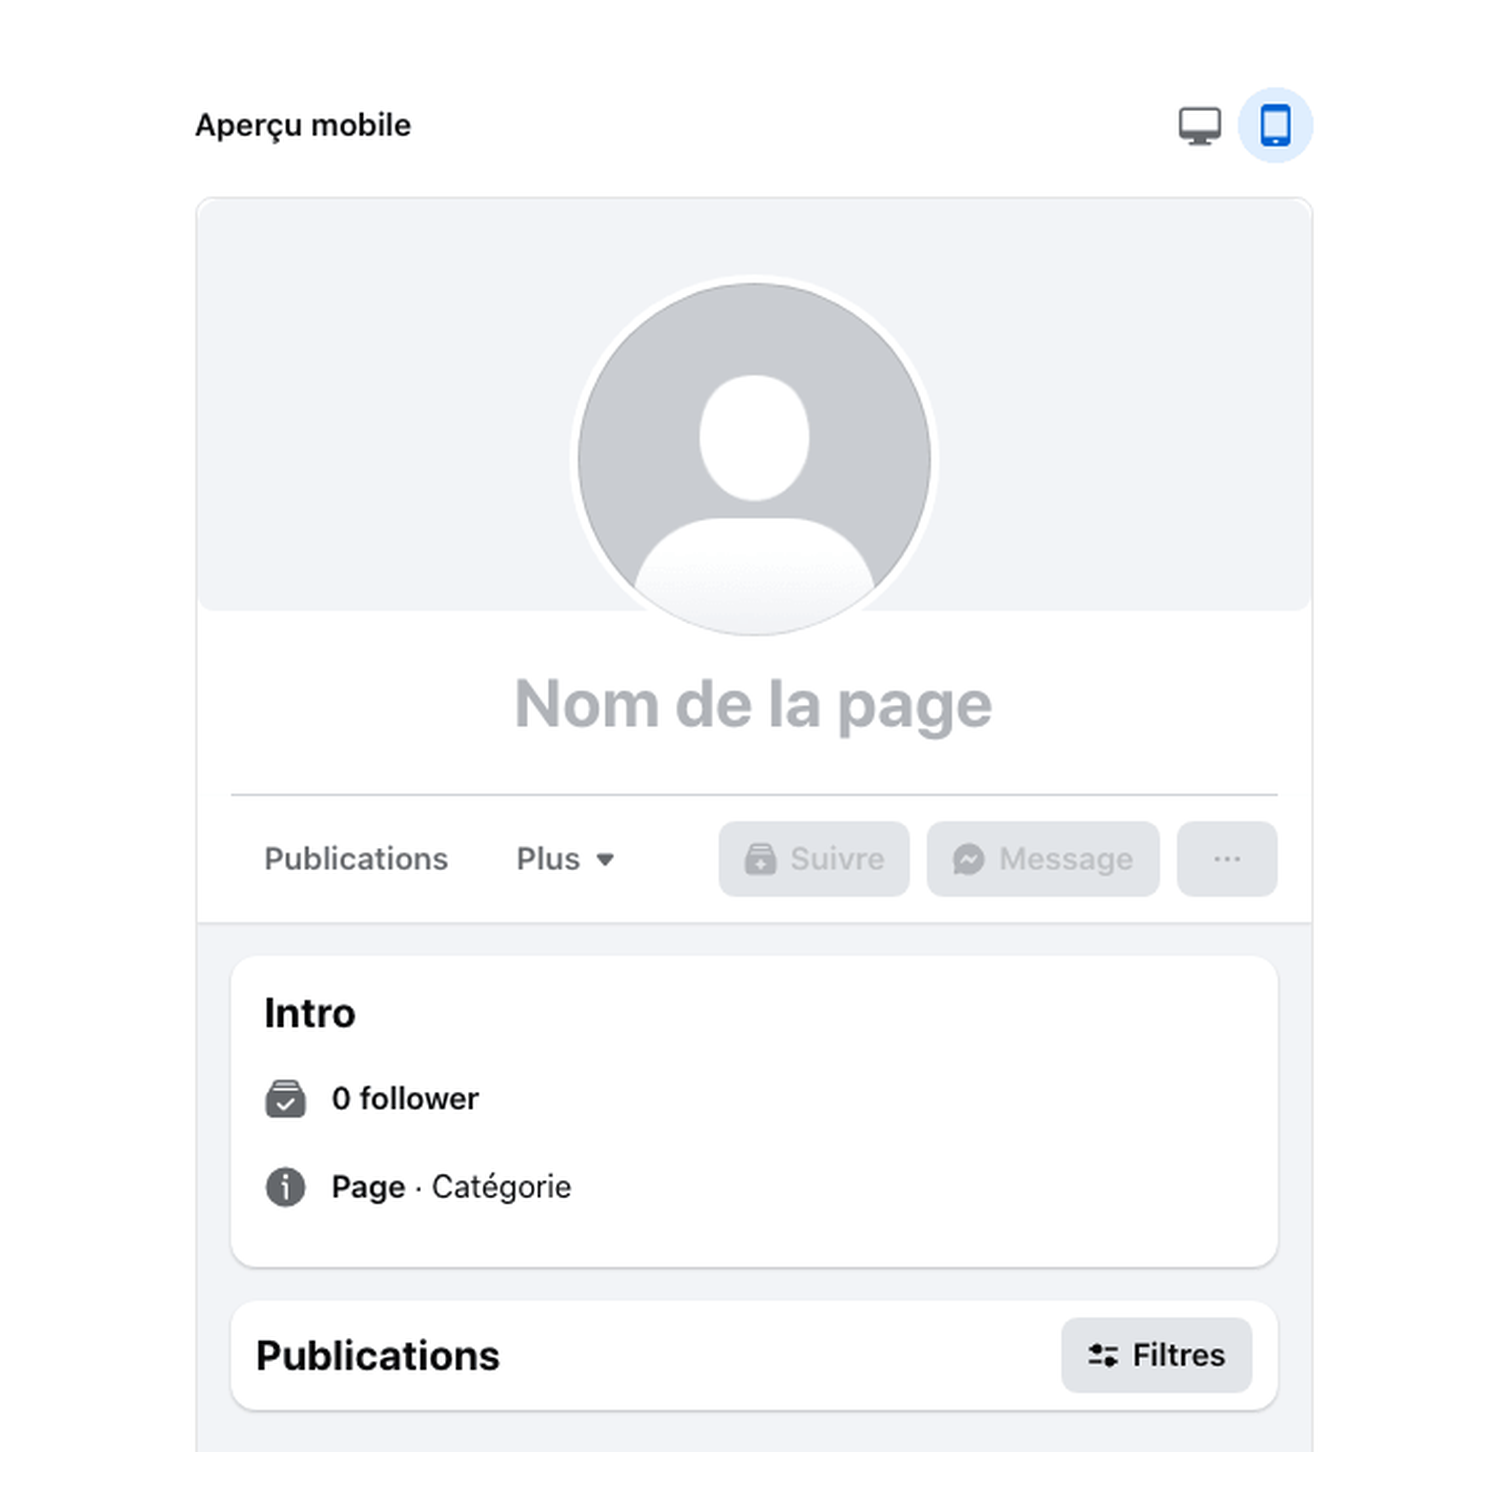
Fill in the name, the category and the description
3 fields, the most important ones.
- Page name, the exact name of your company. That is what people type into search.
- Category, type your trade and pick from the list, up to 3. It tells Facebook who to show you to.
- Description, 255 characters to say what you do and who for, in your customers' words.
Click Create Page.
Add your visuals and your action button
3 settings.
- Profile photo, your logo in a square, 512 pixels a side at minimum. It displays as a circle, keep the logo centred.
- Cover photo, a wide image that shows what you do. 820 pixels by 312 at minimum, 1640 by 624 to stay sharp on recent screens.
- Action button, the blue button under the cover, the main point of contact of the Page. Contact us, Book now, Send message or Learn more, pointed at your website or your form.
No visuals yet? Your logo and a photo of your premises are enough, you can change both whenever you like.
Complete your details and your Facebook address
Open the About section and fill in address, phone, email, website and opening hours. On a computer, the shortcut is business.facebook.com/latest/settings/pages.
Write this information exactly as it appears on your website and on your Google Business Profile, down to the comma. That is what lets Google and the AI engines recognise the same business.
Then create your username, the short address of your Page. You move from facebook.com/p/a-long-number to facebook.com/yourcompany.
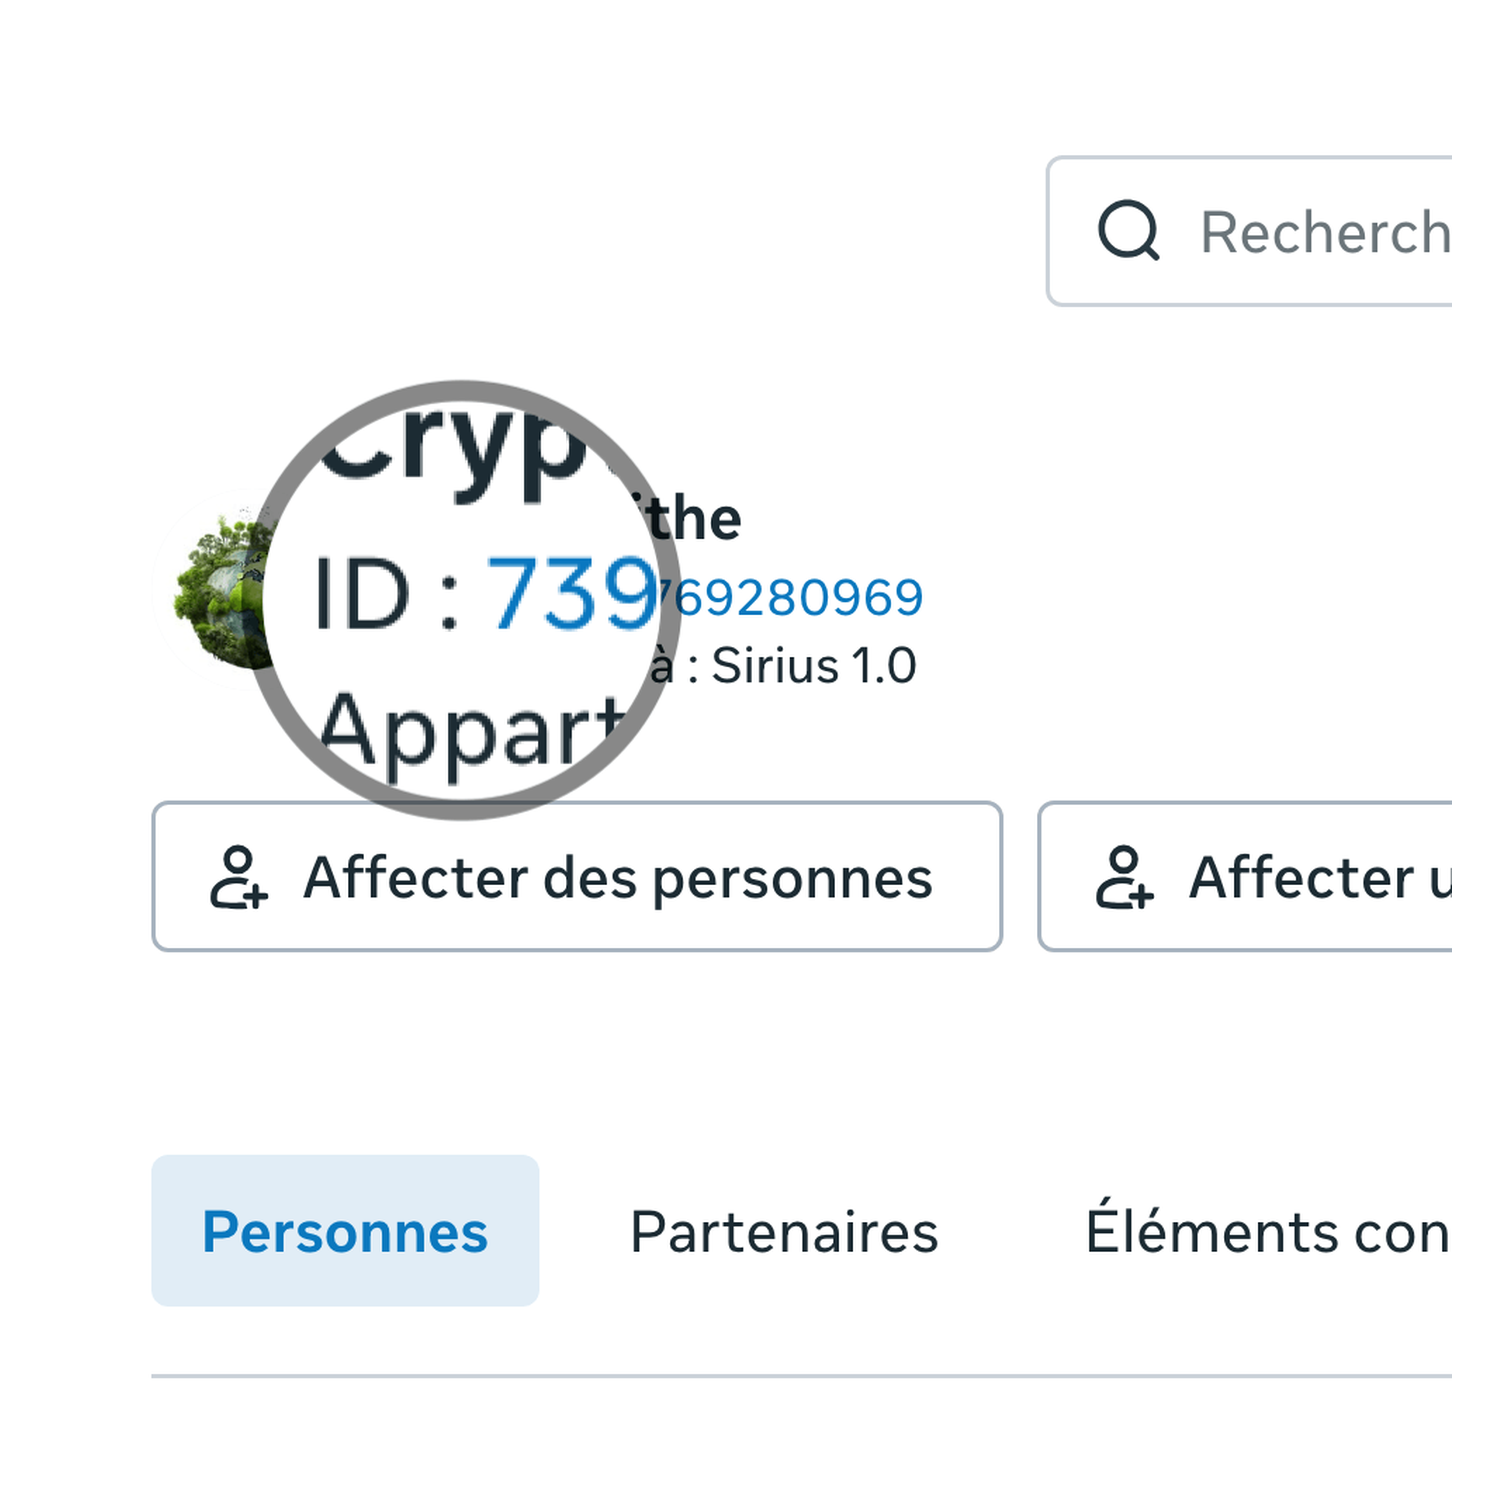
Your Page number. In About, right at the bottom, Facebook shows the Page ID, around 15 digits. Copy it, you will be asked for it to open access for a supplier or to write to Meta support.
Connect your Page to Instagram and to advertising
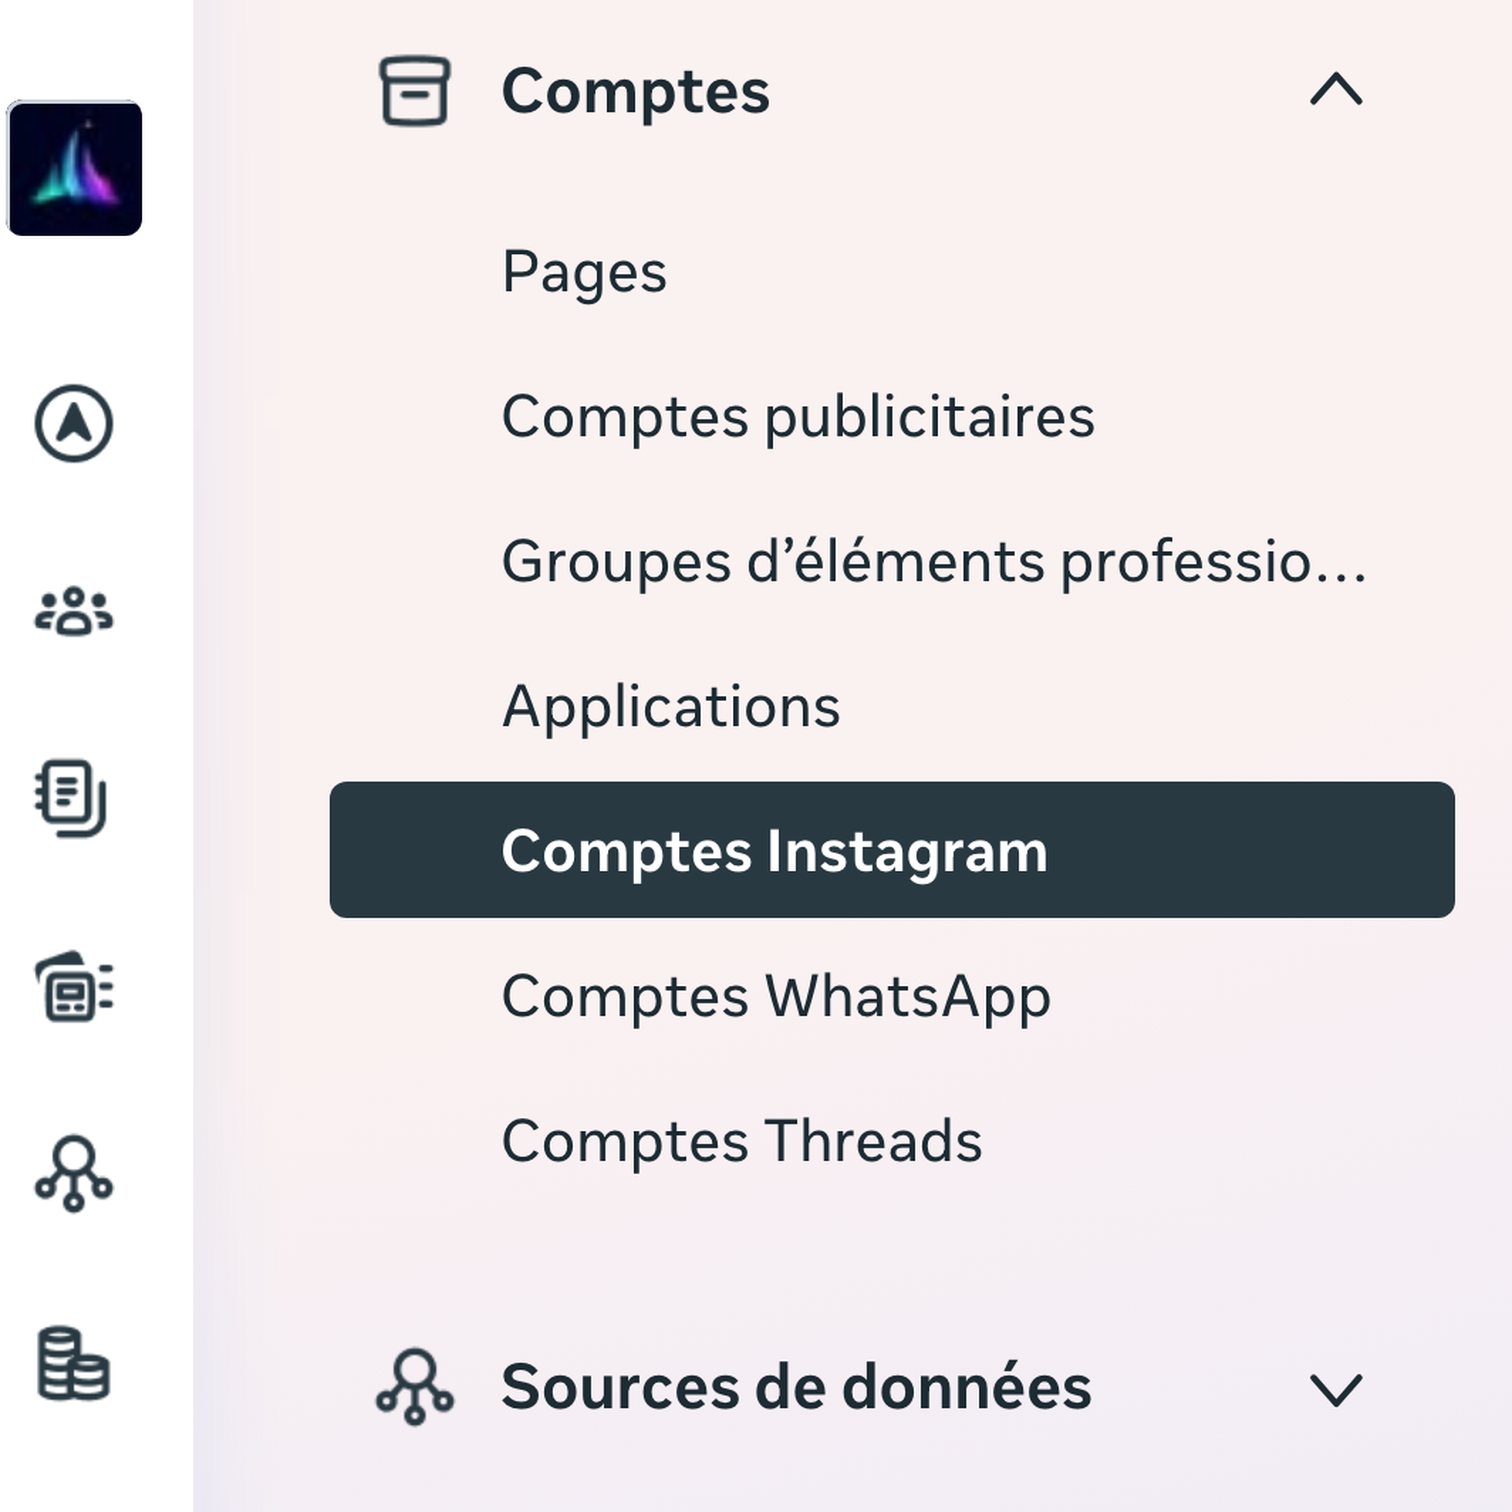
Instagram first, with our guide to link Instagram to your Facebook Page. Your posts and your messages then arrive in the same place.
Advertising next, with a separate ad account, described in our guide to the Meta ad account.
WhatsApp last, to add a contact button and run an ad that opens a conversation, by following our guide to link WhatsApp Business to your Facebook Page.
Our agents work with an access that you open and remove whenever you decide.
Often forgotten. Connect the Page to Meta Business Suite, the free tool that brings Facebook and Instagram together. From a phone, follow opening the account on mobile.
Facebook shortcuts and forgotten settings
The addresses to bookmark.
- facebook.com/pages/create, create the Page.
- business.facebook.com/latest/settings/pages, your Pages and their details.
- business.facebook.com/latest/settings/instagram_accounts, connect Instagram.
- business.facebook.com/settings, the business portfolio, where access is granted.
- business.facebook.com/billing_hub/payment_settings, your advertising payment methods.
- facebook.com/id, confirm your identity with Meta.
Just 1 personal profile. Meta allows only one per person, a second one "for work" is of no use. Your Page is a separate object.
Confirm your identity. At facebook.com/id, send in an official document, processed in 1 to 2 days. That is what lets you take back control if you lose access to your account. Also switch on two-factor authentication.
1. ACTION BUTTON (under the cover photo)
   Missing by default. Set Call now, Send message
   or Book now.

2. CUSTOM ADDRESS (the @your-name)
   Without it, the address stays a string of digits,
   impossible to read out over the phone, and bad for search.
   Settings → Page info
   → Username

3. AUTOMATED MESSAGES (responsiveness badge)
   Inbox → Automations
   → Welcome message

4. APPEARING IN SEARCH ENGINES
   On by default, but not always.
   Settings → How people find you

5. OTHER LINKS
   Also point to your booking page
   and your social accounts.
Links to keep to hand
Frequently asked questions
These guides belong to you. Metabacklinks writes them so that you stay in control of your accounts and understand every step taken on your behalf. Nothing is done behind your back. That is how we work as a provider, and what makes a partnership last. They are open to everyone, clients or not. You are not buying a one-off service, but a whole ecosystem, made simple, that saves you time and money. See all the getting-started guides.
A straight conversation. No sales patter.
We build your site bespoke, and our AI agents keep it alive. Updates, content, search visibility, security, it all runs without you having to think about it once. You settle the broad direction, the AI carries it out. And you get your evenings back.